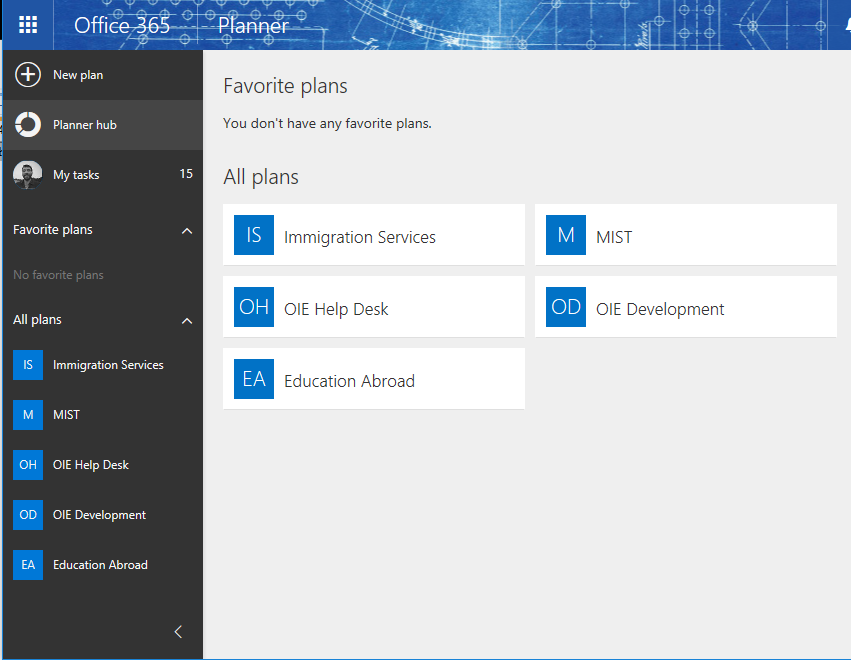
Planner lets your teams to work more effectively and collaboratively in colourful, fun and interactive way. It also gives you ways to visually organize and track your teams work progress.
Accessing the Planner Dashboard
Planner Hub

Viewing Project Plans
You can further repeat the above steps on tasks assigned to you. Click 'My tasks' to see all tasks assigned to you across all projects.
Creating a Task
- Open the project you are working with in the Planner view.
- (Optional) Adjust your Group By settings
- Click the + (plus) button to start a new task
- After naming the task you can edit further details by clicking on the title:
- Add/Change who the task is assigned to
- Add/Change a due date
- Provide a description of the task
- Upload a file
- Create a check list
- Add a comment (this gets emailed to team members and the conversation inbox)
Planner's Supporting Tools
- Conversation Inbox (Outlook)
- Calendar (Outlook)
- Members
- Files (OneDrive)
- Notebook (OneNote)