Demystifying Listserv Management
Main Screen
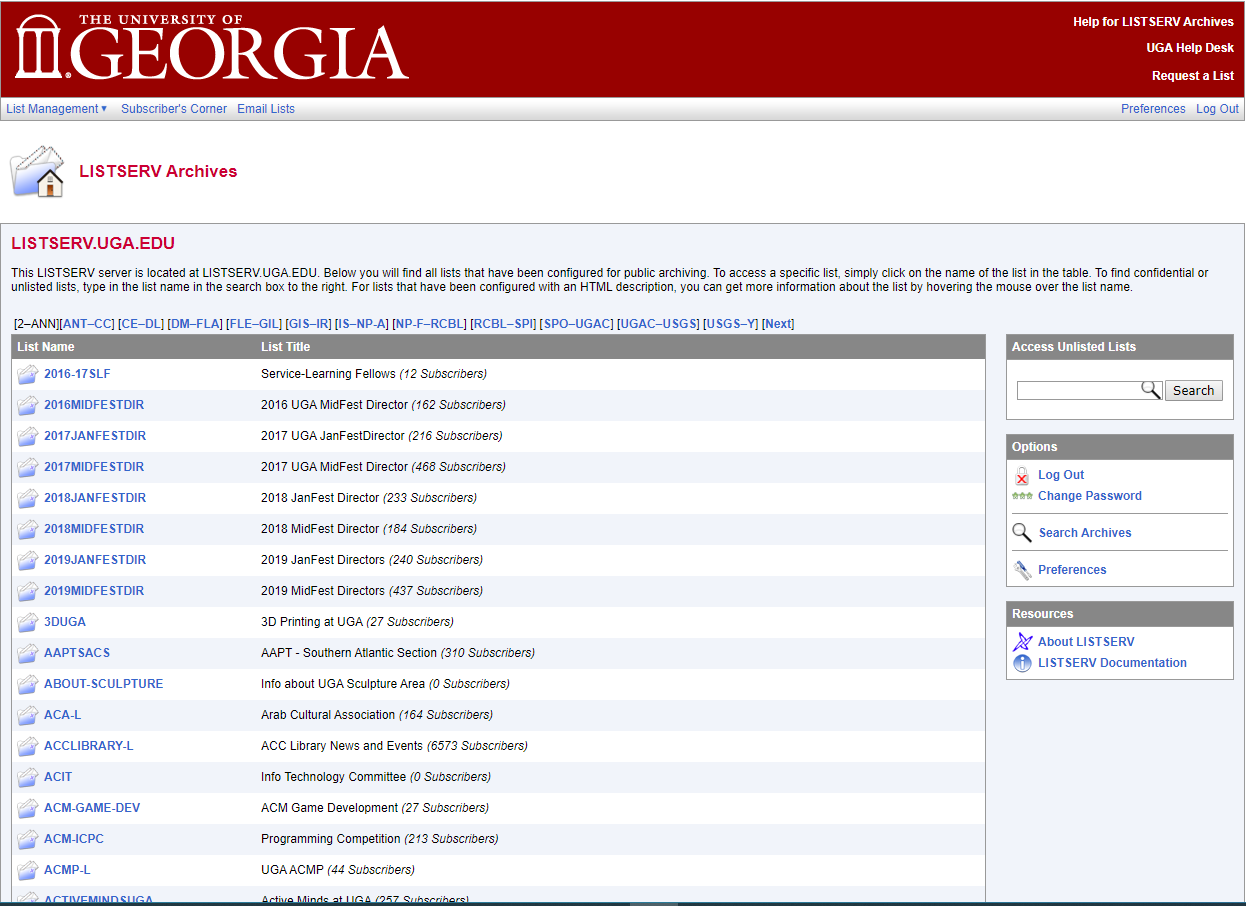
Clicking list management in the upper left corner will be your main menu for managing your listservs. The list dashboard has all of your current listservs and a “Configure” button under them for management purposes. However, the most common thing you’ll do with listservs is add or remove subscribers, and you can do this under “Subscriber Management”.
Single Subscriber Management
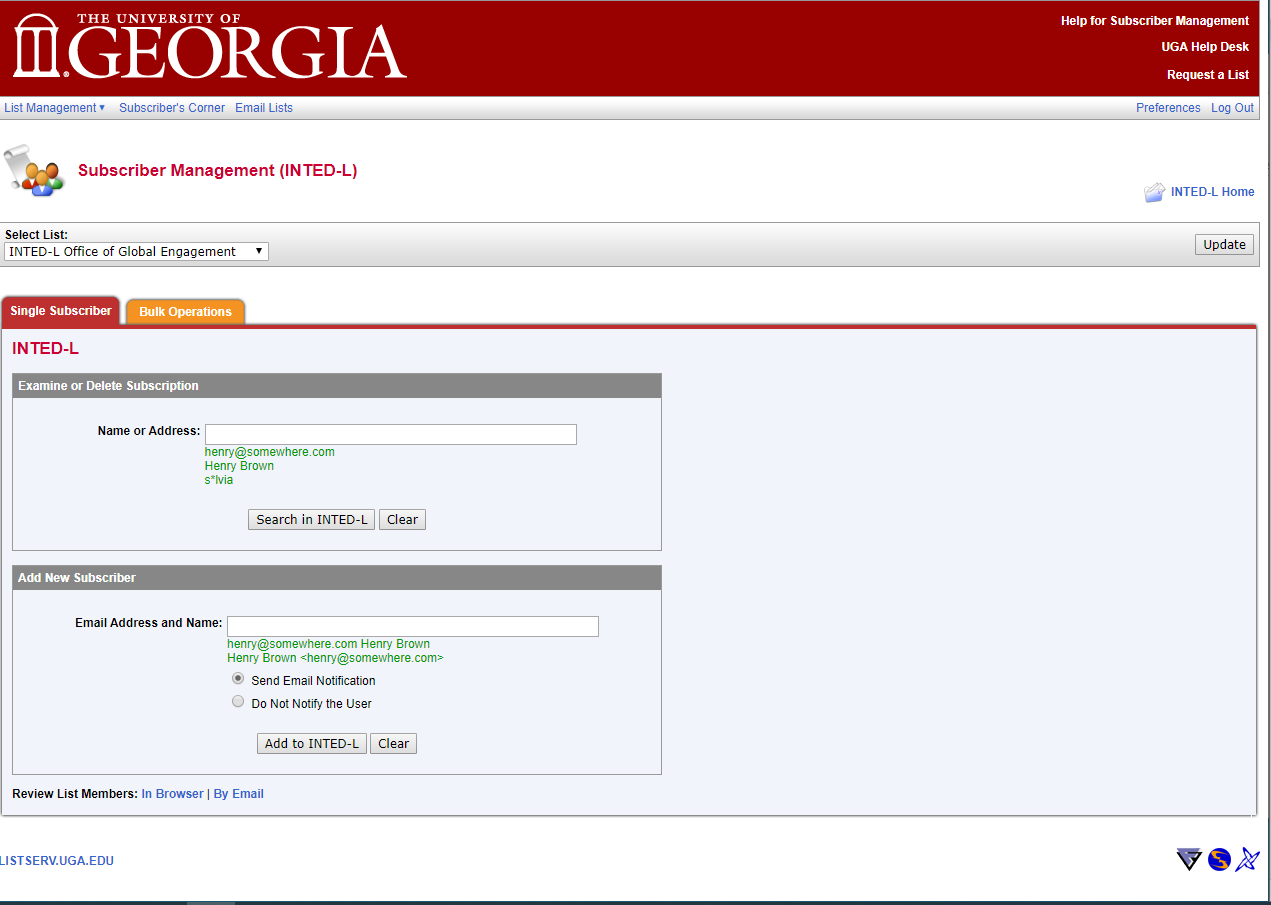
Opening up the Subscriber Management link, we see the currently selected listserv at the top and some options on how to interact with it. If none are selected, use the drop down menu to select a listserv to manage. There are two tabs, one for singular address management and one for bulk management. You can search for and update/delete any subscriber by searching for them in the search box. You can also add a single new subscriber by adding their email address into the “Add New Subscriber” box. Current convention is to add email “aliases” (I.E.
Bulk Subscriber Management
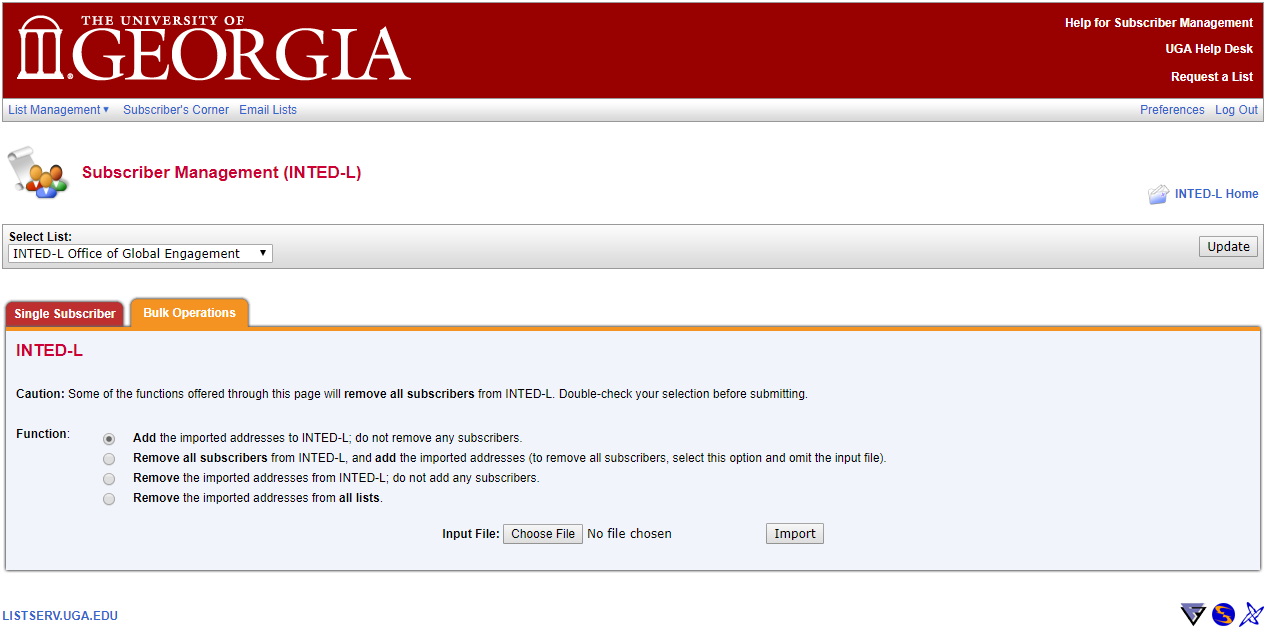
The bulk operations tab is a powerful tool for adding or removing multiple subscribers at once. All bulk operations require a file to be used as the basis for the action. This file can be made in Excel and is simply a big list of email addresses. With this list, you can add or remove large groups of people.
A list has to be in a certain format to work with the listserv management software. It must be a text file, which Excel can export to. To start making a list, open up Excel and just start typing! You can also use an existing list, provided it is formatted correctly. The list can contain only email addresses, first names, and last names (first and last names are not required). Do not put in headers at the top. Here is an example list:
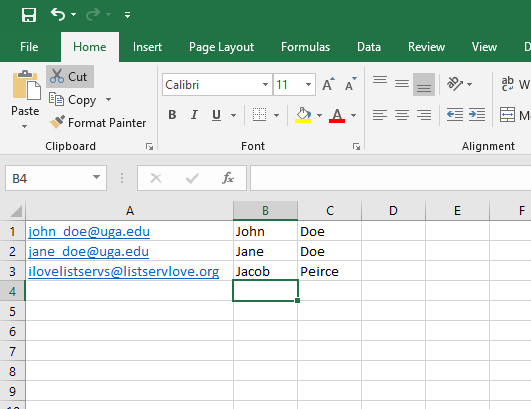
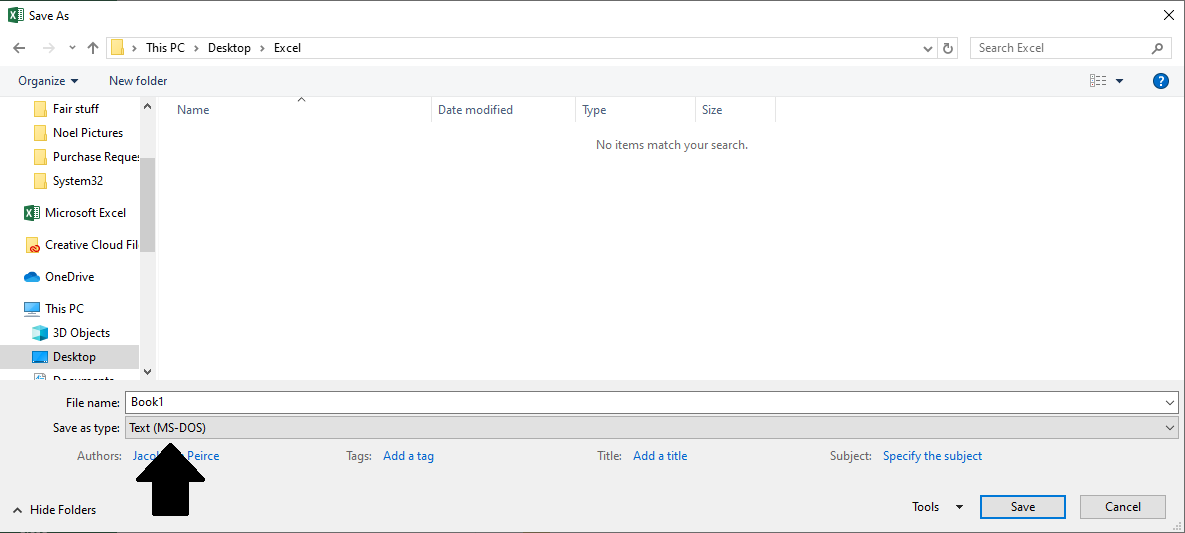
Once you have your list formatted, click file-> save as, follow the prompts, and make sure to change the file type at the bottom to Text (MS-DOS)
Once your bulk list is complete, under the bulk operations tab, simply click “choose file” and select the list you created earlier. Clicking the “import” button will perform the requested action. Most often, you will be doing action 1 (add the imported addresses) or action 3 (remove the imported addresses).
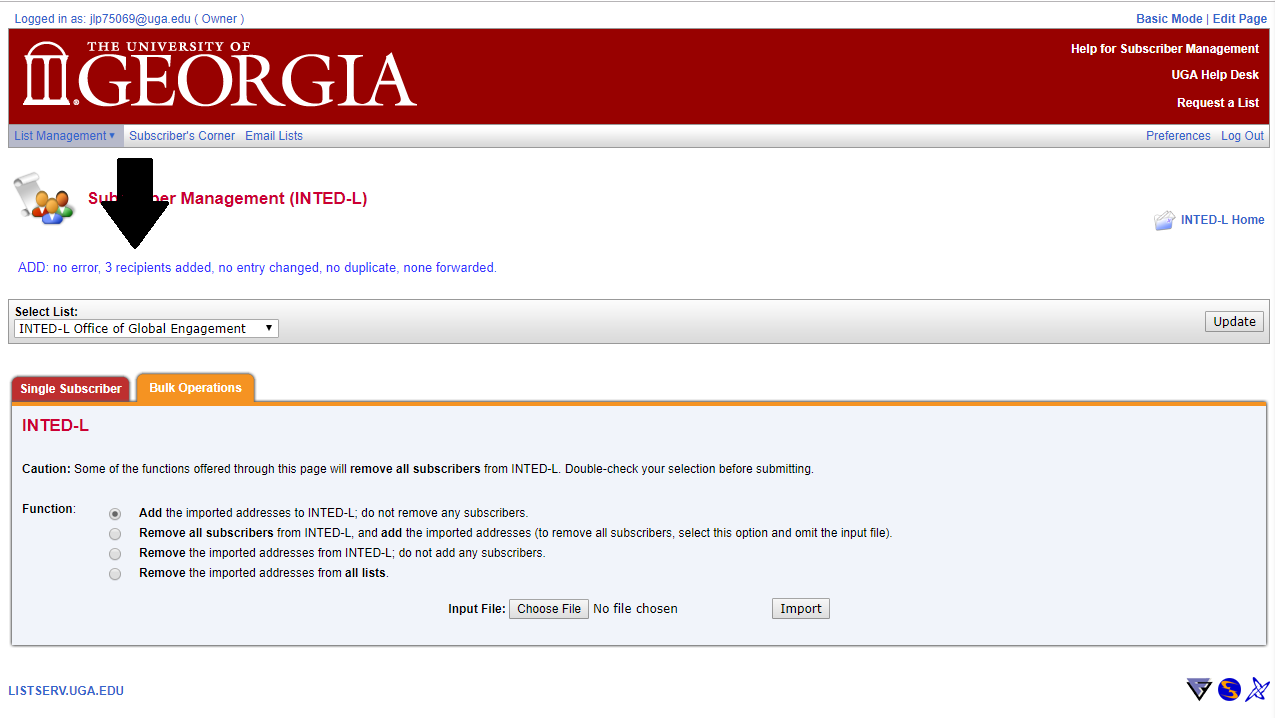
Very important note: When an action completes in the listserv interface, there is no “OK Button” or big indicator that the action completed successfully. There is only a small note at the top telling you it is done, and it is hard to miss! Only click buttons once, and be very careful doing anything with these listservs - there is no undo button!
